¶ Installation Guide
Welcome to the EGBoundary installation guide.
¶ Supported CAD Platforms
| CAD Software | Supported Versions |
|---|---|
| BricsCAD | V22 – V26 |
| AutoCAD | V20 – V26 |
| ZWCAD | V24 – V26 |
| GStarCAD | V24 – V26 |
¶ Step 1 — Download and Extract
Download EGBoundary from the official website:
https://engenext.com/pages/egboundary.html
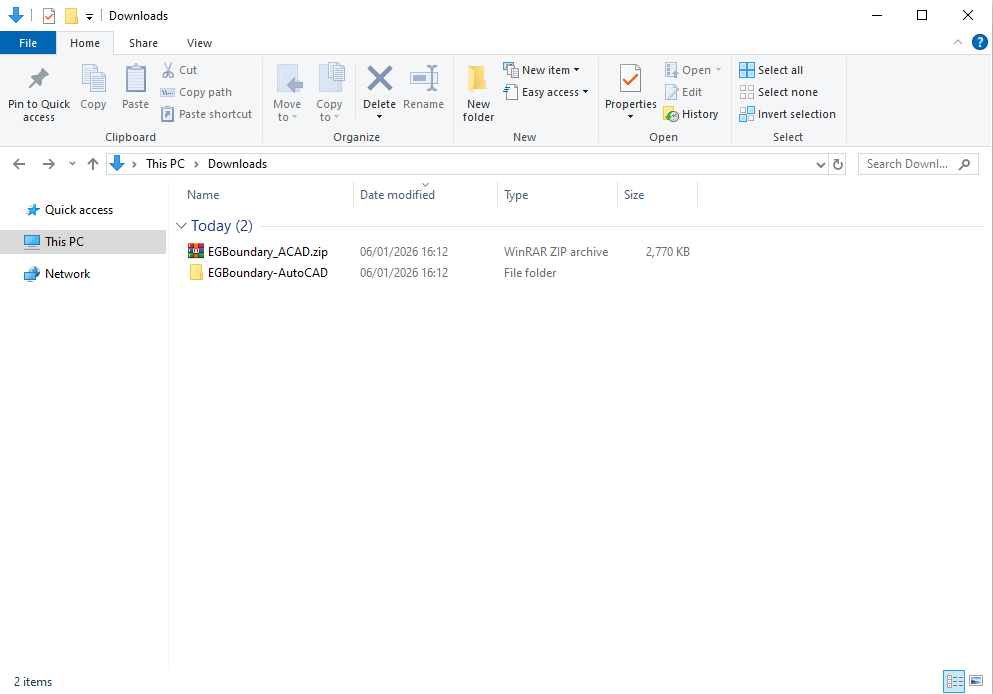
After downloading:
- Extract the ZIP file
- Open the extracted folder
¶ NOTE:- The images shown for demostration purpose only the content may change according to the installers for respective CAD platforms the procedure will remain exactly the same for all the CAD platforms.
¶ Step 2 — Run Installer as Administrator
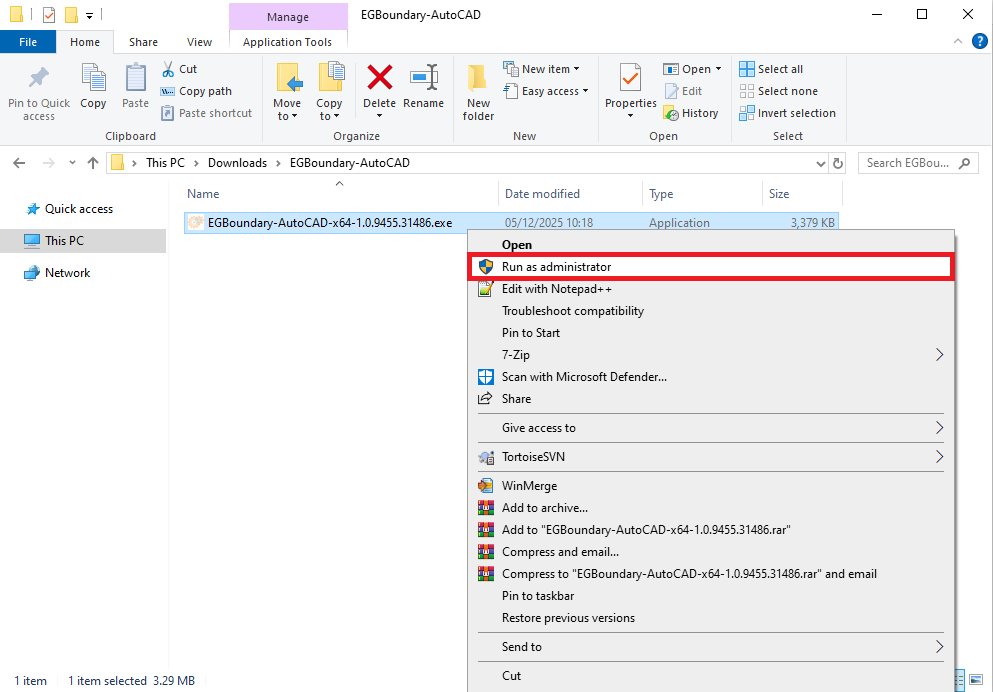
Inside the extracted folder:
- Right click the installer
- Select Run as Administrator
If Windows Defender shows "Unknown Publisher", click:
More Info → Run Anyway
¶ Step 3 — Setup Wizard and License Agreement
- Launch the setup wizard

- Click Next
- Read the license agreement
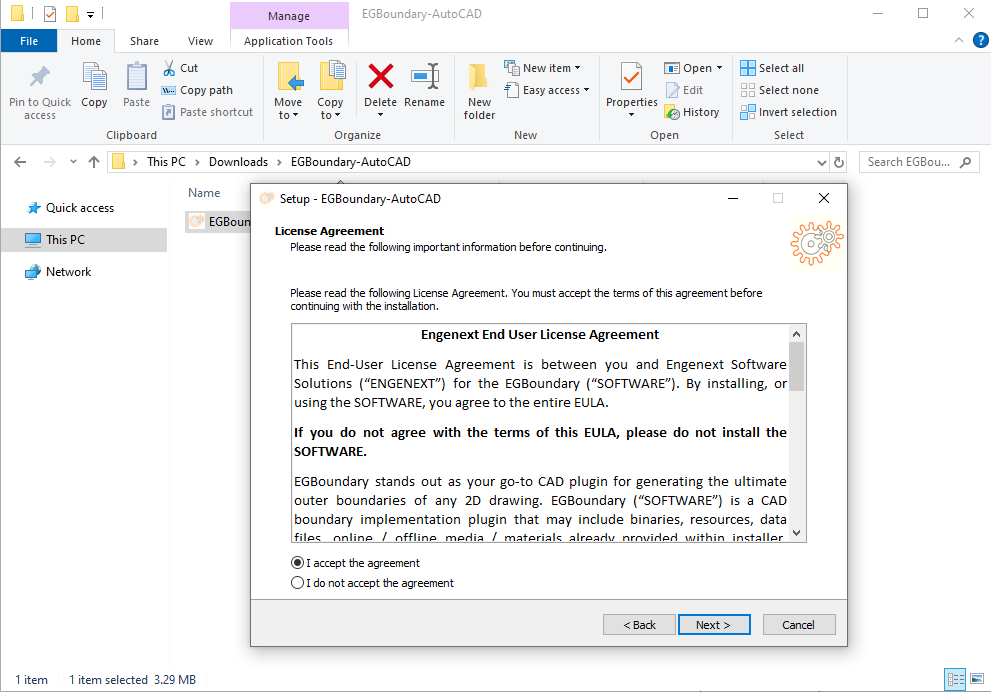
- Select:
- I accept the agreement
- Click Next
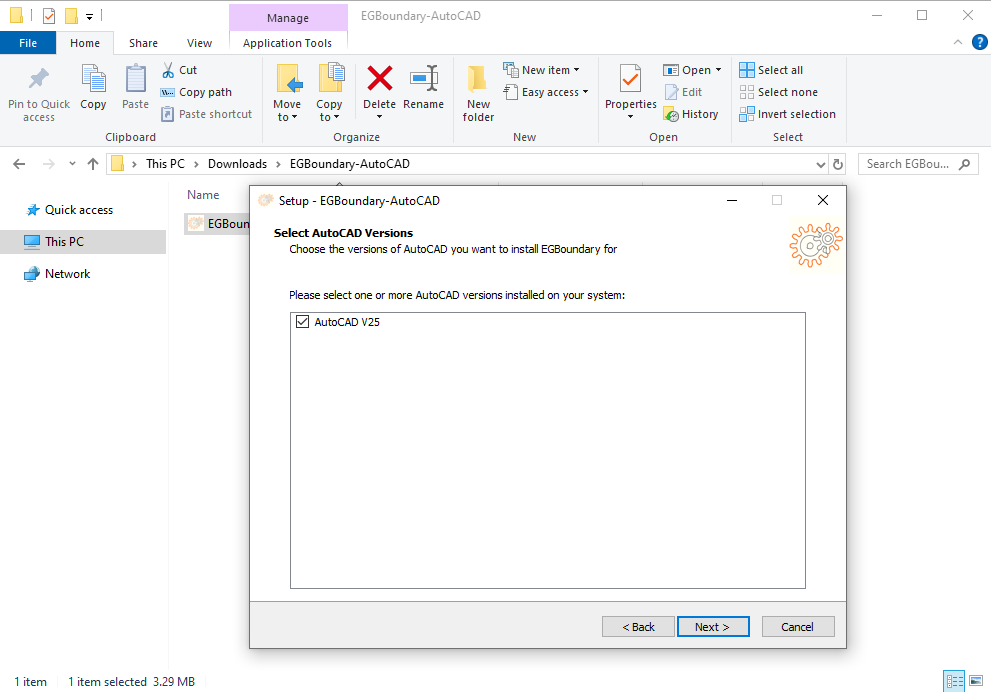
¶ Step 4 — Select CAD Version and Installation Folder
- Select one or more installed CAD versions
- Choose installation directory
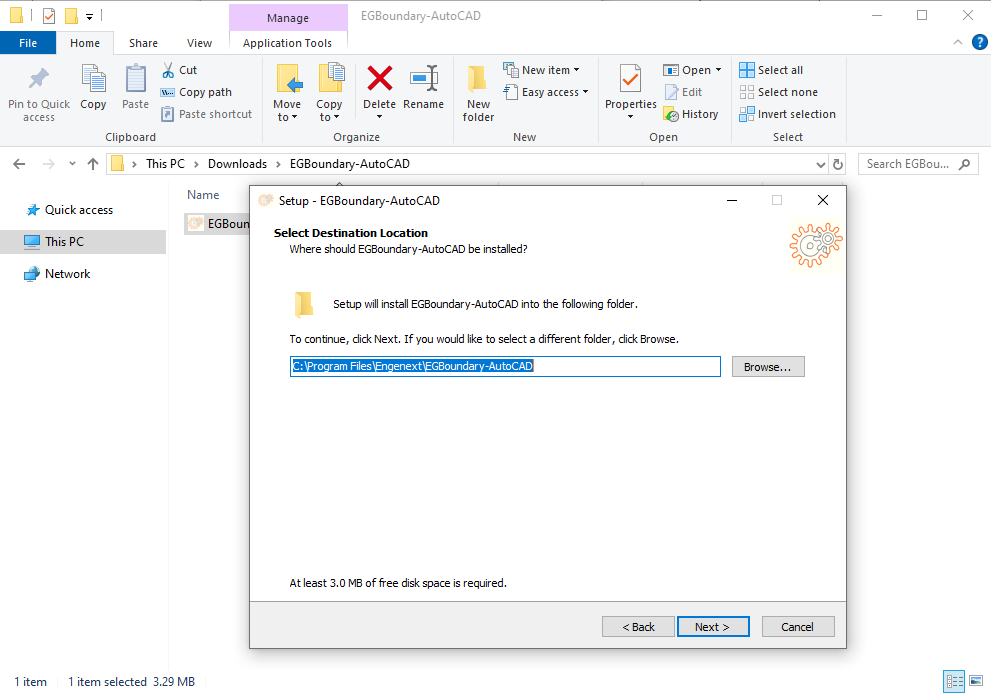
- Recommended:
- Keep default installation path
- Click Next
¶ Step 5 — Complete Installation
- Click Install
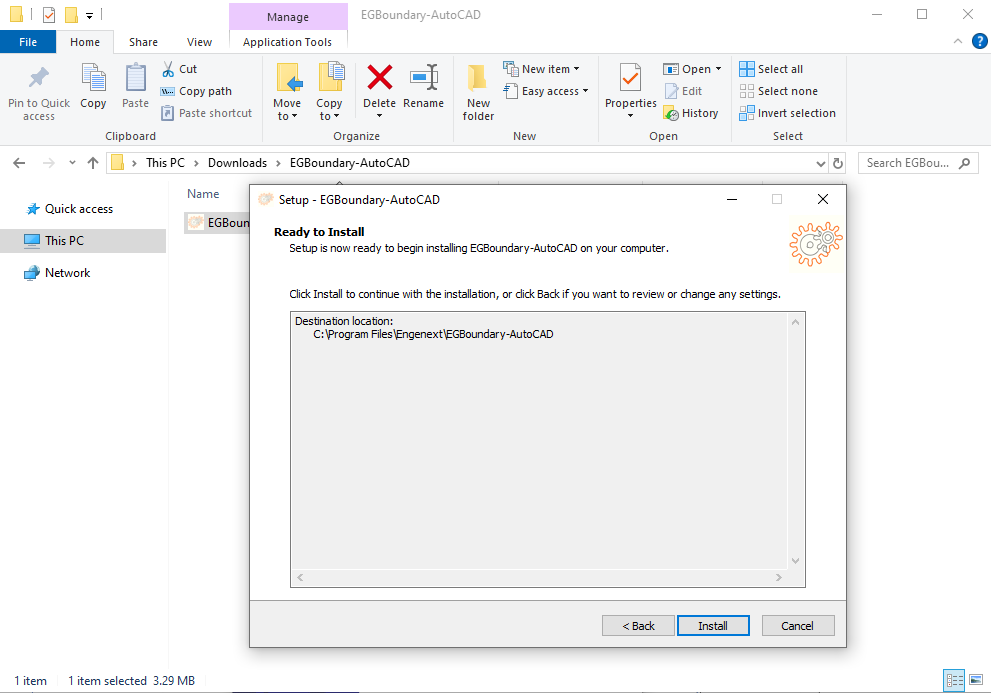
- Wait for installation to complete
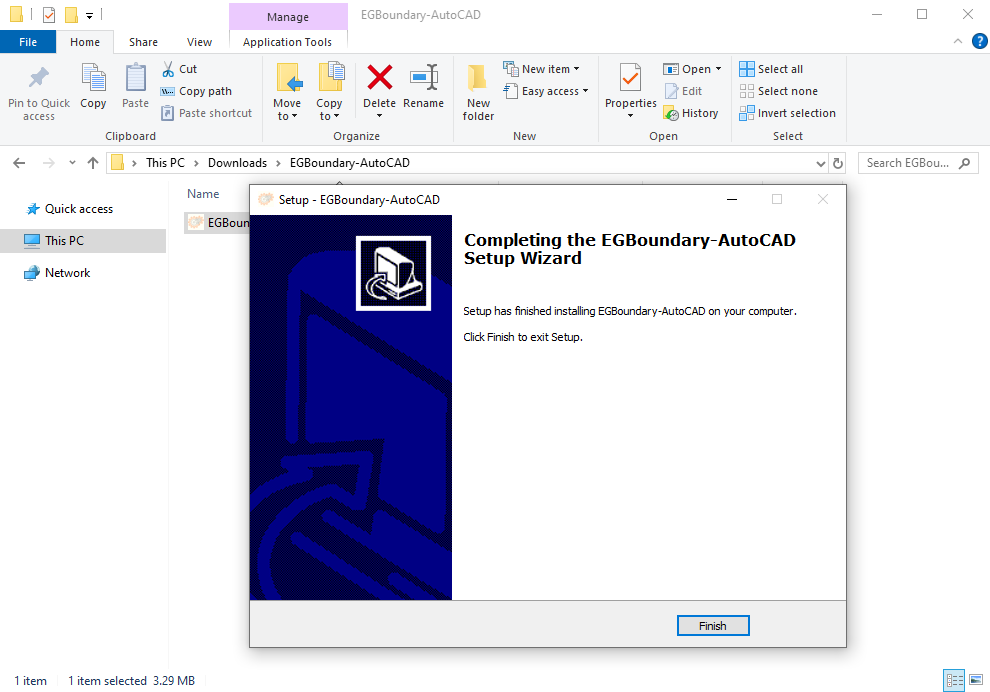
- Click Finish
EGBoundary is now ready to use.
¶ Launching EGBoundary
- Open your CAD application
- Create a new drawing
- Type:
EGBOUNDARY
- Press Enter
This activates the software trial or licensed mode.
¶ Notes
-
Trial version supports:
- 7 Days
- OR 15 Sessions
-
Supported License Types:
- Node Lock Subscription
- Node Lock Perpetual
- Floating Subscription
- Floating Perpetual
¶ Support
For installation or licensing support: